Update 2016/06/23
Nintex Mobile has deprecated support of pre-populating sign in information using deep link. On the other hand you now can Launch the app, open a specific form and pre-populate it’s field using a deep link url.
———————————————————–
Nintex Mobile is a great way to take your business process with you on the go anywhere; no matter you are online or offline.
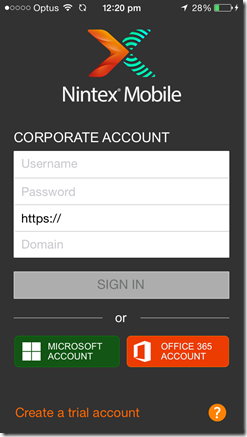
To use the app you need to download it from the store and sign in to a specific SharePoint URL using your credentials.
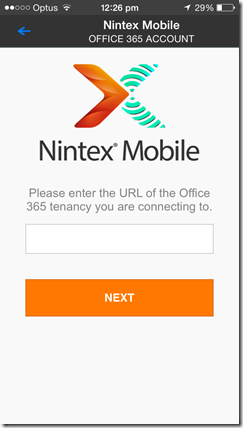
And if you want to connect to an Office 365 tenancy, you need to first select Office 365 Account and then enter the tenancy URL:
While remembering all of the information and instructions for an advance user is not an issue, most of users have to refer to the instruction sent by IT in order to sign in and use the app.
Nintex Mobile 3.0 has got a new feature which lets users launch the app and pre-populate authentication information through a hyperlink. Using this fantastic feature users don’t have to remember their authentication type, SharePoint/tenancy URL or their domain. All they need to do is to click on a link enter their password and sign in.
This feature makes deployment of Nintex Mobile in organizations much easier for IT.
So let’s see how to create a URL to launch the app…
the URL structure is as follow:
nintexmobile://?authtype={authtype}&url={url}&domain={domain}&username={username}
now lets look at the parameters we can pass to app using the hyperlink
authtype: The parameter indicates the type of authentication your company support for Nintex Mobile. Possible values are:
- sharepoint
- office365
- microsoft
url: A string representing the SharePoint URL user should connect to. If you use Nintex Mobile to connect to an Office 365 tenancy, this represent the tenancy URL to which users should connect to.
Please note that this value must be URL Encoded. To URL encode a URL you can use many free online tools like this one.
domain: This value can be used to prepopulate the Domain field with your active directory domain. (this is only supported for sharepoint authentication type)
username: If you want to send a specific link to each user, you can use this field to pre-populate her username. (this is only supported for sharepoint authentication type)
*note that all of the fields are optional.
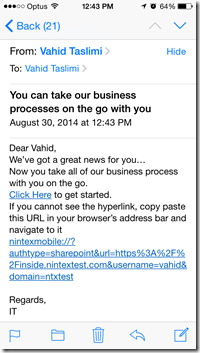
and below is an example of a URL to launch the app and configure it to connect to an on-prem SharePoint:
All you need to do is create a hyperlink in an email, web page, document etc. and point it to this URL.
when user taps on the link on a device, Ninex Mobile launches and fields are pre-populated as per below:
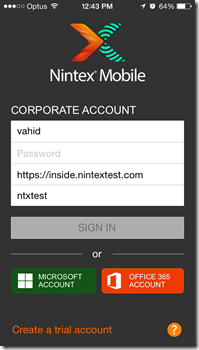
Also if you need to connect to an Office 365 tenancy this need a URL like this:
nintexmobile://?authtype=office365&url=https%3A%2F%2Finside.sharepoint.com
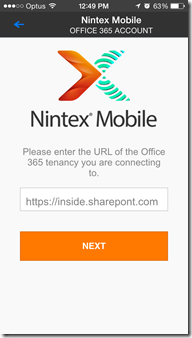
Opening this URL on a device will launch Nintex Mobile and take user to the Office 365 page:
Hope this has been useful for you and don’t forget to provide your feedback for Nintex on https://community.nintex.com.
